Post-Renovation Cleaning Checklist: Before, During and After the Clean

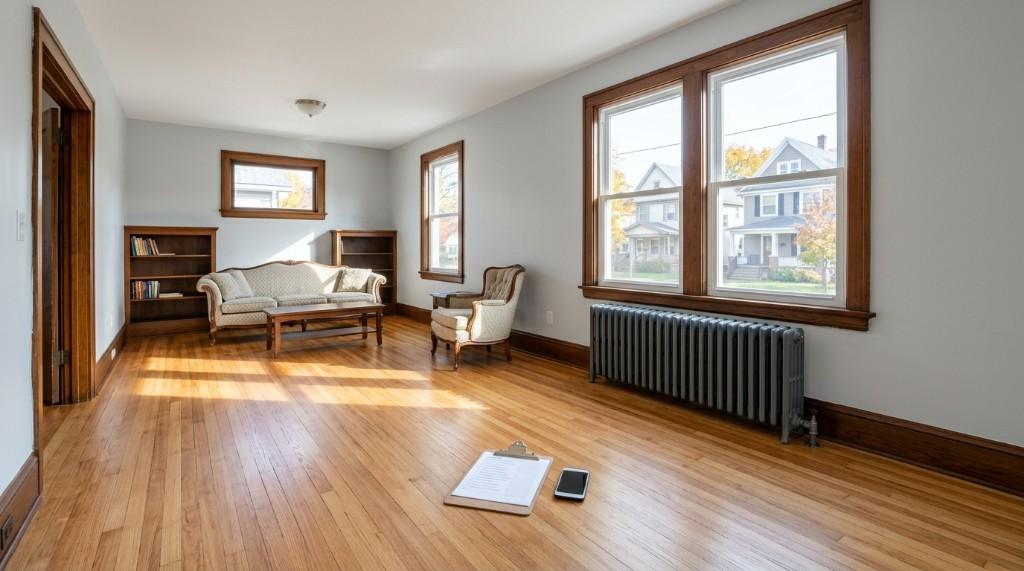
A post-renovation clean goes well when three things happen in order: the last contractor leaves, the dust comes off top to bottom in several passes, and you inspect the result before it has time to resettle. This checklist covers your side of that: what to do before the cleaners arrive, what to do on the day, how to check the work, and what to do in the days after.
What our crew cleans room by room is listed on our post-construction cleaning page. This guide is everything around it. For a finished addition in Clarence, see how that walkthrough looked in the Clarence case study.
Download the printable checklist (PDF)
Before the clean: one to two weeks out
- Get the date the last trade finishes, including paint touch-ups, caulk and hardware. Book the clean for after that date, not the same day.
- Confirm debris haul-off with your contractor. Cleaning crews don’t haul construction debris.
- Write down when each room was painted. Latex paint dries in hours but takes weeks to cure: Glidden says to wait at least 14 days before wiping or washing walls, and Benjamin Moore says at least 30 days before cleaning painted surfaces.
- Ask your contractor whether HVAC returns were covered during sanding. If they weren’t, plan for a new filter right after the clean.
- If your home was built before 1978 and painted surfaces were sanded, scraped or removed, ask your contractor how they handled lead-safe cleanup. Renovation firms working in those homes must follow EPA lead-safe rules, including a cleaning verification by a certified renovator (EPA).
- Photograph any scratches, chips or dents from the renovation, so nobody confuses them with cleaning damage later.
Before the clean: the day before
- Power, running water and lights work in every room, and the bulbs are in.
- Leftover tile, paint and trim are stacked in one spot and marked “keep.”
- Furniture that moved out stays out until after the clean. Sofas and rugs brought back now will only collect dust.
- If your contractor’s floor protection is still down, ask whether they are removing it before the clean.
- Plan a parking spot for the crew. If there is no free spot, paid parking is billed at cost.
- Plan for kids and pets to be somewhere else during the clean.
On cleaning day
- Switch the HVAC fan off while the crew dusts, so it doesn’t blow dust back onto clean surfaces.
- Open windows if the weather allows.
- Tell the crew lead about delicate finishes: natural stone, fresh grout, oiled wood, matte paint.
- Stay reachable for questions, and plan to be home for the final walkthrough.
The walkthrough: how to check the work
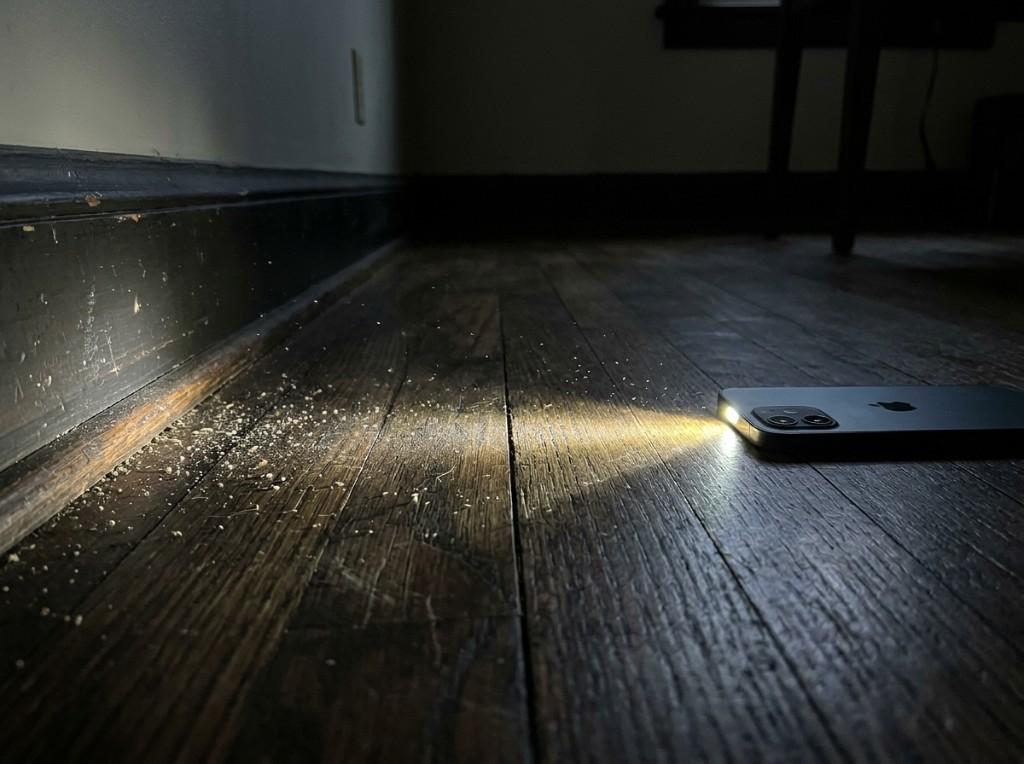
Three simple tests catch almost everything: a low light, a white cloth, and a look inside. Point out anything you find during the walkthrough, while the crew is still there.
| Where to check | How | What clean looks like |
|---|---|---|
| Floors and counters | Hold a phone flashlight low, almost flat to the surface | No gray film, no grit along the edges |
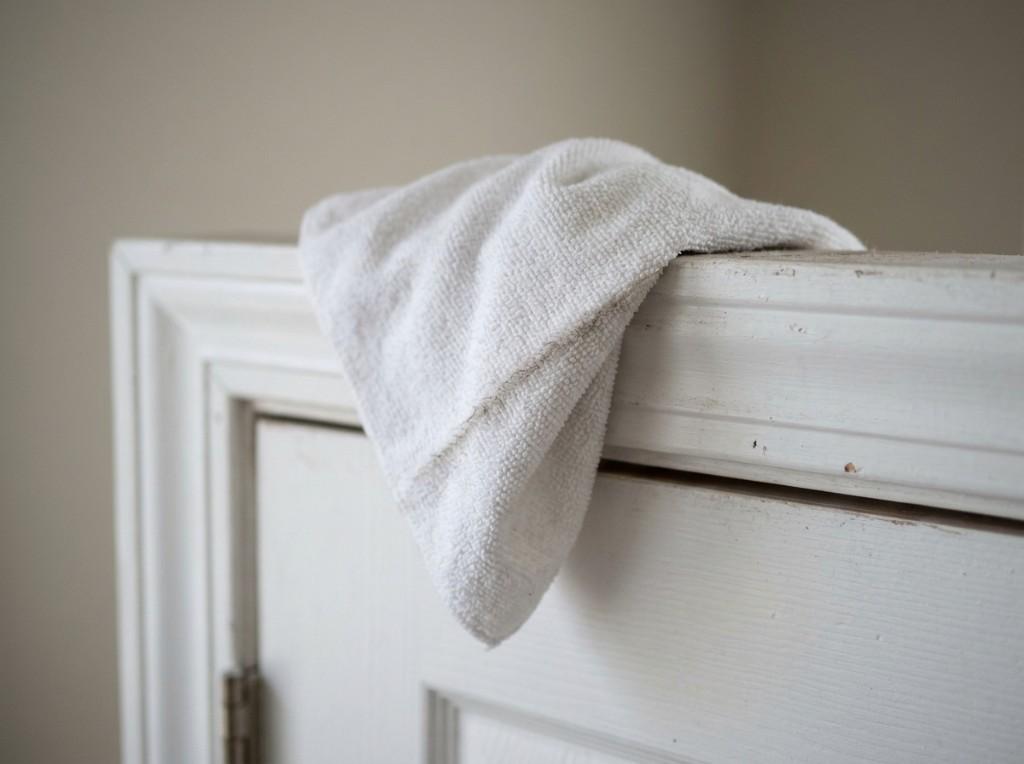
| Top edges of doors, frames, trim and window casings | Run a white microfiber cloth along the top | The cloth stays white |
| Inside cabinets, drawers and closets | Look into the corners and drawer slides | No dust lines in the corners |
| Window tracks, sills and glass | Check the tracks, then look at the glass at an angle against the light | No grit in the tracks, no paint specks or label glue |
| Vents, registers and radiators | Look between the fins | No dust sitting on the fins |
| Faucets, fixtures and tile | Look for haze and dried drips of grout or caulk | An even shine, no haze |
| Switch plates, outlets and door hardware | Check the plates, hinges and handles | No dust ring, no paint smudges |
| Stairs and baseboards | Check corners and spindles | No dust packed into corners |
“Walk the house with a flashlight held low. Dust you can’t see standing up shows up instantly. That’s exactly how I check our crews’ work.”
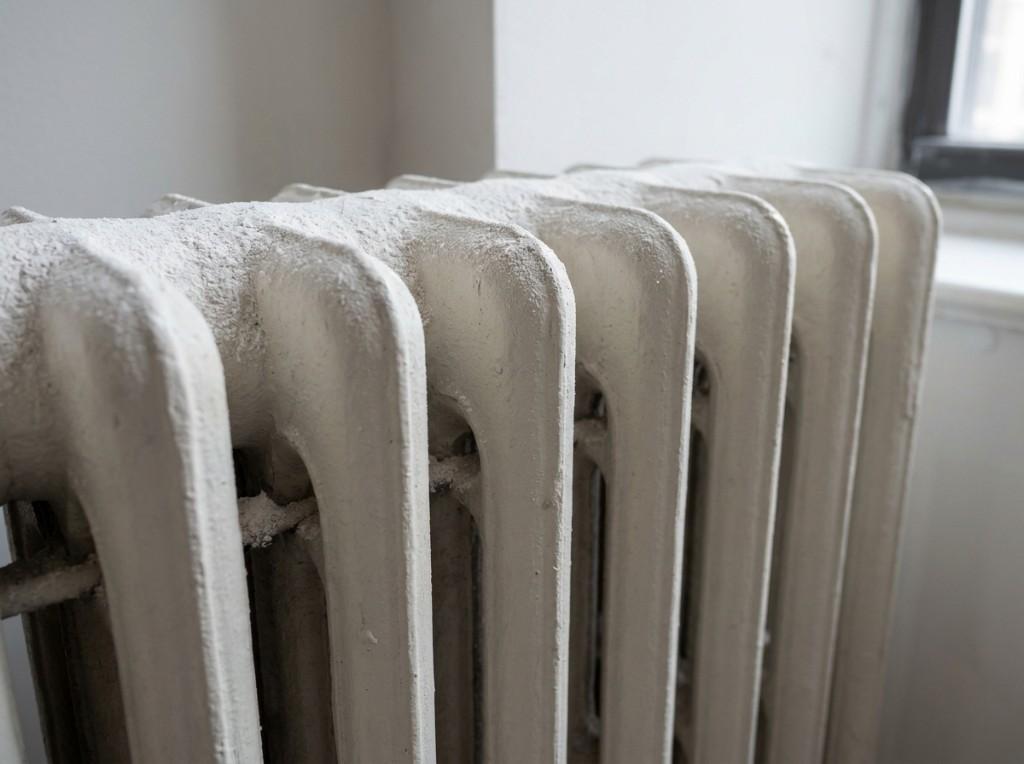
Radiators deserve extra attention in Buffalo. The city has some of the oldest housing in the country, and the fins of an old cast-iron radiator hold construction dust like a filter.
After the clean: the first days and the first two weeks
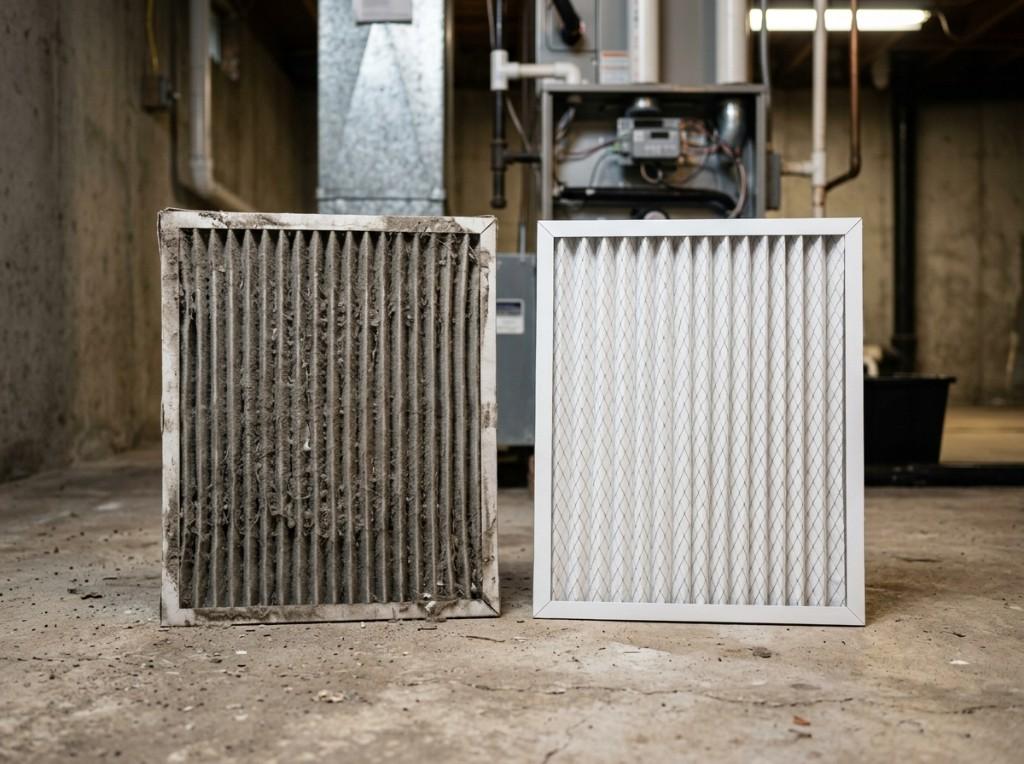
- Replace the HVAC filter right after the clean, then turn the system back on. Check the filter again in two weeks: construction dust can clog one in days.
- If your system can handle it, use a MERV 13 filter. EPA suggests MERV 13 or the highest rating your system’s fan and filter slot can take. Ask your HVAC technician if you’re not sure.
- Air the house out after painting and floor finishing. Paint, sealants and finishes keep releasing fumes after they look dry.
- Wash curtains, pillow covers and bedding that stayed in the house during the work. Vacuum upholstery with a HEPA vacuum.
- Expect a light film on flat surfaces in the first day or two as the last airborne dust settles. A quick pass with a dry microfiber cloth takes care of it. A heavy layer means something was missed, or a trade came back.
- Don’t scrub freshly painted walls until the paint has cured. After that, spot-clean marks gently with a damp cloth.
- Call an HVAC contractor about duct cleaning only if you see dust inside the ducts, or the registers keep blowing dust after the filter change.
- If contractors come back for punch-list fixes, book a short touch-up clean after the last visit.
What to do yourself, and what to leave to a pro
| You can do it yourself | Leave it to a pro, and why |
|---|---|
| Replace HVAC filters | Multi-pass dust removal on trim, doors and cabinetry. One wet wipe turns drywall dust into paste |
| Wash textiles, vacuum upholstery with a HEPA vacuum | Paint specks, label glue and silicone on new glass and fixtures. The wrong blade or pad leaves scratches |
| Wipe down a room that was only repainted, once the paint has cured | Whole-house dust after drywall work. A 2,000 sq ft home typically needs 10–20 labor hours (price guide) |
| Dust the light film that settles after the clean | Anything involving lead, asbestos or mold. That is a job for a certified specialist, not a cleaning crew |
Why dust deserves respect: drywall joint compound can contain talc, mica, gypsum and silica, and breathing the dust can irritate your eyes, nose, throat and airways (NIOSH). Dry sweeping and shop vacuums without a HEPA filter put the finest particles back in the air.
Sources: Benjamin Moore — Cleaning freshly painted walls · Glidden — Wall painting questions · NIOSH — Control of Drywall Sanding Dust Exposures · EPA — Lead-Safe Renovation, Repair and Painting
Frequently asked questions
Ready for your number?
Homes get a price in 60 seconds. Commercial jobs are confirmed after a short site walkthrough.